Photographs captured during everyday neighborhood walks to epic, cross-country road trips inspire and inform my illustration and fine art.
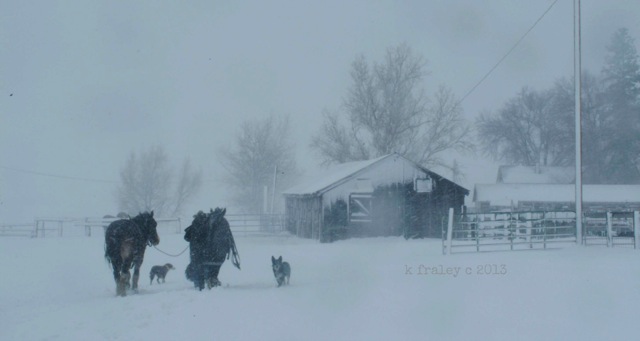
Don’t get me wrong, I love to draw and paint, but sometimes there just isn’t enough time. My camera, however, can quickly document valuable visual notes. For me, moments captured may include a picturesque scene, a unique camera angle, captivating light, or simply a mood I feel that I want to last.
The key is taking the time to learn how to capture and adjust your photos to bring out the particular aspect of the scene that drew you in.
CAPTURING THE MOMENT
You don’t need to become a photography master but cracking open that camera user’s manual can reveal some helpful tips. Who knew?
My photography improved once I switched my DSLR out of “Auto” mode and once I learned how to use all the special bells and whistles on my small point-and-shoot and smart phone. When the moment strikes, however fleeting, you don’t want technical controls getting in the way of capturing a great shot.
CAPTURING THE DEPTH OF A SCENE : EXPOSING FOR HIGHLIGHTS AND SHADOWS
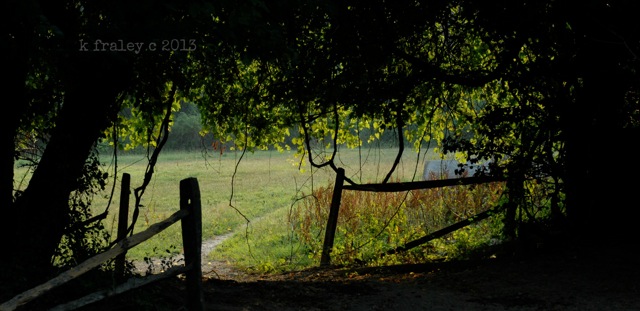
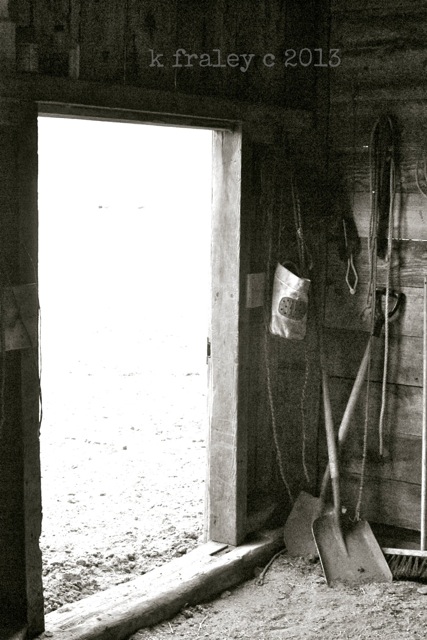
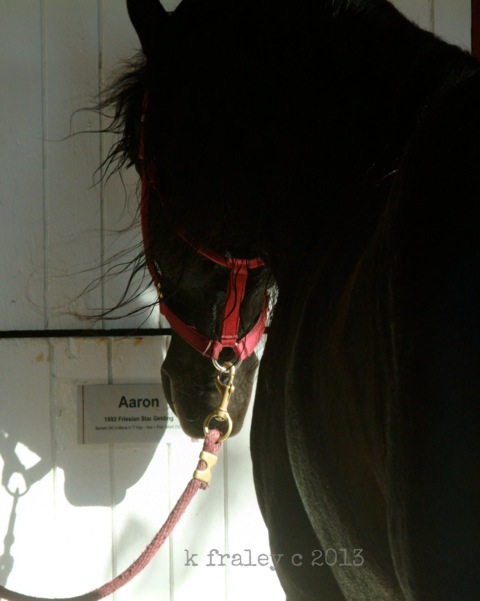 Often times, what inspires me in a scene is the subtle play of light, and its effect on the subject. As advanced as digital cameras are today, sometimes they can not physically capture the depth and exposure range of a scene in just one photograph.
Thanks to Photoshop and iPhoto and all sorts of photo manipulating software, almost any photo can look great. But if you want to use your photos for reference you sometimes need to over and under expose a picture to see details in the shadows or highlights.
This means taking multiple photographs of a given subject. In one shot you set your camera to focus on the shadows. In a second shot, you set your camera to focus on highlights. You can take as many additional photos as you like to capture the greatest range of exposure information possible.
For pictures from my smart phone, just tapping the screen will place the focus on the area I’m interested in and make the exposure for that shot. I take multiple shots, tapping (focusing and exposing) on different areas of the scene to ensure I capture a range of exposures from which to later refer.
Most point-and-shoot cameras have something like the tap of the screen on smart phones or a “Best Shot” option on the menu.
If you own an advanced point-and-shoot or a DSLR you may have access to a feature called “Exposure Bracketing.” (Once again, it helps to dust off the camera user’s manual.) When you set your camera to bracket exposures, it automatically takes multiple photos at varying exposure settings to gather a range of images, capturing the lightest lights and darkest darks.
START WITH THE END IN MIND
 In the end, it all begins with asking yourself one question:
What inspires me to capture this moment?
The answer to this question will help distill the essence of the scene, provide focus when capturing reference images, and guide your image making decisions when you create your illustration masterpiece.